How to Take a Live Photo: Live photos are a great way to add life to the joyous moments you capture with your iPhone camera. If the photos are not enough, but the video is too cruel, then real-time photos are just what you need.
By default, these features are enabled on all iPhones, but it is easy to turn them off by mistake, so this is the way to ensure that Live Photos is enabled.
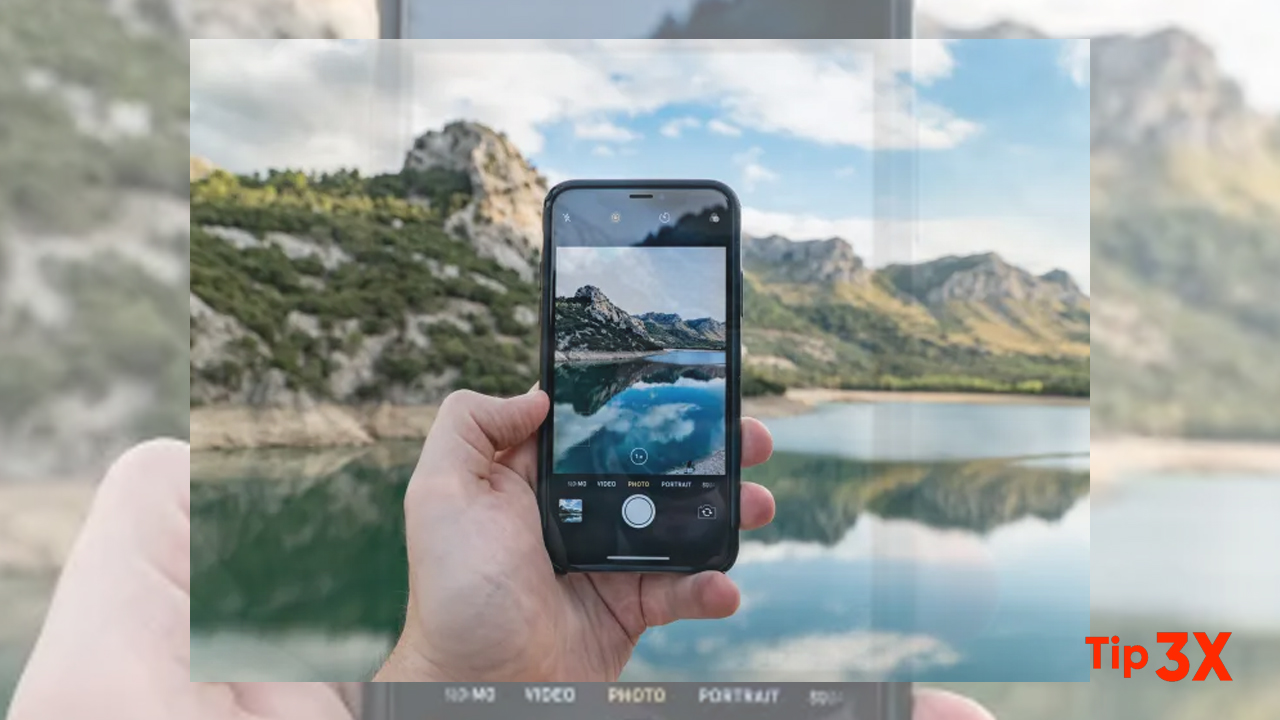
- Open the Camera app.
- Look for the Live Photo icon in the top right-hand corner of the screen.
- If the icon has a line through it, Live Photos are disabled. Tap the icon to enable it and you will see a banner notification that says LIVE.
- If the Live Photos icon does not have a line through it, you are ready to shoot. Tap the capture button to take your photo.
Once enabled, your iPhone should remember your preferences and keep the live photo open until you turn it off again. You can open the “Photos” application, click on “Album”, and then scroll down until you see the option to open the “Live Photos” album to view all the “Live Photos”. Press and hold any “live photo” to view the animated version.
How to Create a Video from Live Photos: You don’t need to be an expert in iMovie to create interesting videos on your iPhone. In fact, thanks to the magic of Live Photos, you can take some photos or make videos. This is a great option for sharing with Android or Windows friends who cannot view live photos.
- Open the Photos app
- Choose the Live Photo(s) you want to turn into a video
- Click the Share arrow
- Scroll down and tap, Save as Video
- Go to Albums > Recent to see your video
This is a fun way to create quick videos for Instagram stories or quick videos to share with others on iMessage. The sound you recorded while capturing will be saved in the video, and your real-time photo video can be shared or exported to other applications, just like any other video.
Turn a Live Photo into an Animated GIF: The video is interesting, but the GIF is more worth listening to. Thankfully, your iPhone includes some options to convert real-time photos to animated GIFs in just a few clicks.
That’s it:
- Open the Photos app
- Find and tap the Live Photo you want to turn into a GIF
- Swipe up on the screen to reveal the options underneath your photo
- Select Loop or Bounce to see a GIF version of your Live Photo
- Go back to Albums > Animated to see all the GIFS you created
Another option in this menu is the “Long Exposure” option. This function blurs motion to simulate the effect of a slow shutter speed. Try to take photos of some moving vehicles at night, then use this option to see some blurry taillights and stripes. The waterfalls and fireworks are also very nice.
How to Edit a Live Photo (Part One): Have you ever taken a photo at the moment you press the capture button and let someone walk into your frame? Most of us have them, but the big advantage of “live photos” is that they can capture information before and after you take the photo.
This means you can fundamentally rewind or fast forward to the exact moment when the prowler is not in your picture. Apple calls it the choice of key photos. This is the method of using “live photos”.
- Open the Photos app
- Find and tap the Live Photo that you want to change
- Click the Edit button in the top right-hand corner of the screen
- Next, tap the Live Photo icon in the bottom left-hand corner of the screen
- Drag your finger over the slider underneath the photo to choose the key photo that you want to use as your image
- Click, Make Key Photo to confirm your choice and then tap Done to finish
How to Edit a Live Photo (Part Two): Before deciding to convert it to video or GIF, most people will forget the real-time photos. This means that if the iPhone cannot be held stable for a few seconds before or after pressing the shutter button.
The animated version of Live Photo may be a little jittery when you play it back. The good news is that you can edit live photos to eliminate the worst part of a shaky camera job. This is the case.
- Open the Photos app
- Find and tap the Live Photo you want to work with
- Tap Edit in the top right-hand corner of the screen
- Tap the Live Photo icon in the bottom left-hand corner of the screen
- On the slider underneath the photo, press and hold on the arrow to the left (or right) of the slider and drag it to the right (or left) to trim the beginning (or end) of the video.
This method is exactly the same as the method of trimming videos in the Photos app. The only real difference is that the live photos are only three seconds long, so you can’t make too many adjustments. However, this option is still useful if you want to organize live photos and then share them as videos or GIFs.
How to Convert a Live Photo to a Still Photo: If you share a live photo with other iPhone users, they will get the same version of the live photo you see on your phone. This means they can press and hold the image to see the number of seconds before and after the capture. However, if you want to disable this feature and still keep the live version, you can.
- Open the Photos app
- Find and tap on the Live Photo you want to share
- Click the Share arrow, and choose Duplicate
- Choose, Duplicate as a Still Photo
- The still photo can be found in the Recents album
If you don’t need two copies of the same photo, you can enable or disable the real-time portion of any photo by following the instructions below.
- Open the Photos app
- Find and tap on the Live Photo you want to share
- Click Edit
- Click the yellow LIVE button at the top of the image to disable it