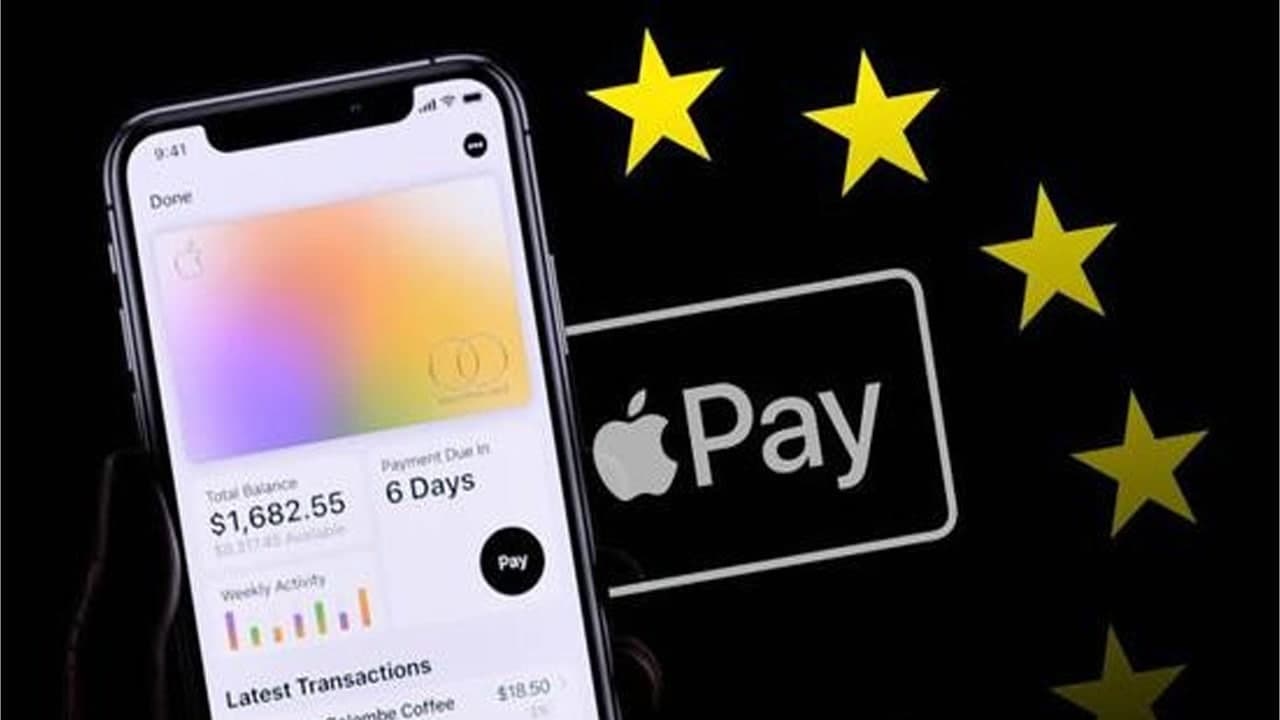
When you lose your iPhone or Apple Watch, aside from the frustration of losing the physical device, there is also a concern of someone trying to access and use your Apple Pay information. Your Apple Pay data is specific to your device, so if someone can gain access, there is a chance they can go on a shopping spree at your expense.
Fortunately, Apple is ready for this and has a way for you to disable your Apple Pay information remotely so that you can feel secure, with locating your missing device being your own worry.
Disable Using Find My
The quickest and easiest way to disable any lost Apple device is to use the “Find My” platform. As long as you have access to another computer (any computer, just not Apple), iPhone, or iPad, you can log in and start the disabling process.
1. Begin by going to the “Find My” app on any Apple device or jump directly to iCloud.com/find on any computer and sign in with your existing Apple ID.
2. At the top of the iCloud.com page, locate the heading for “All Devices” and select the lost device from the list. In the Find My iOS app, go to “Device,” which is the second option from the left at the bottom, and locate which device you want to disable.
3. With the device selected on iCloud.com, click or tap on “Lost Mode,” which will then prompt you for a phone number to reach you when your phone is located. Once that number has been added, Apple Pay is immediately suspended as long as the phone remains in lost mode.
4. On iOS, tap on “Activate” underneath “Mark As Lost.” A quick prompt will verify that you do want to lock a computer or disable an iOS device. Hit “Continue” and Apple Pay will be disabled. This is a great way to avoid having any charges made from your devices and saves you from canceling any of the credit cards you have available through Apple Pay.
5. When your device is found, you can reenable Apple Pay as soon as “Lost Mode” is deactivated.
Join Tip3X on Telegram 


