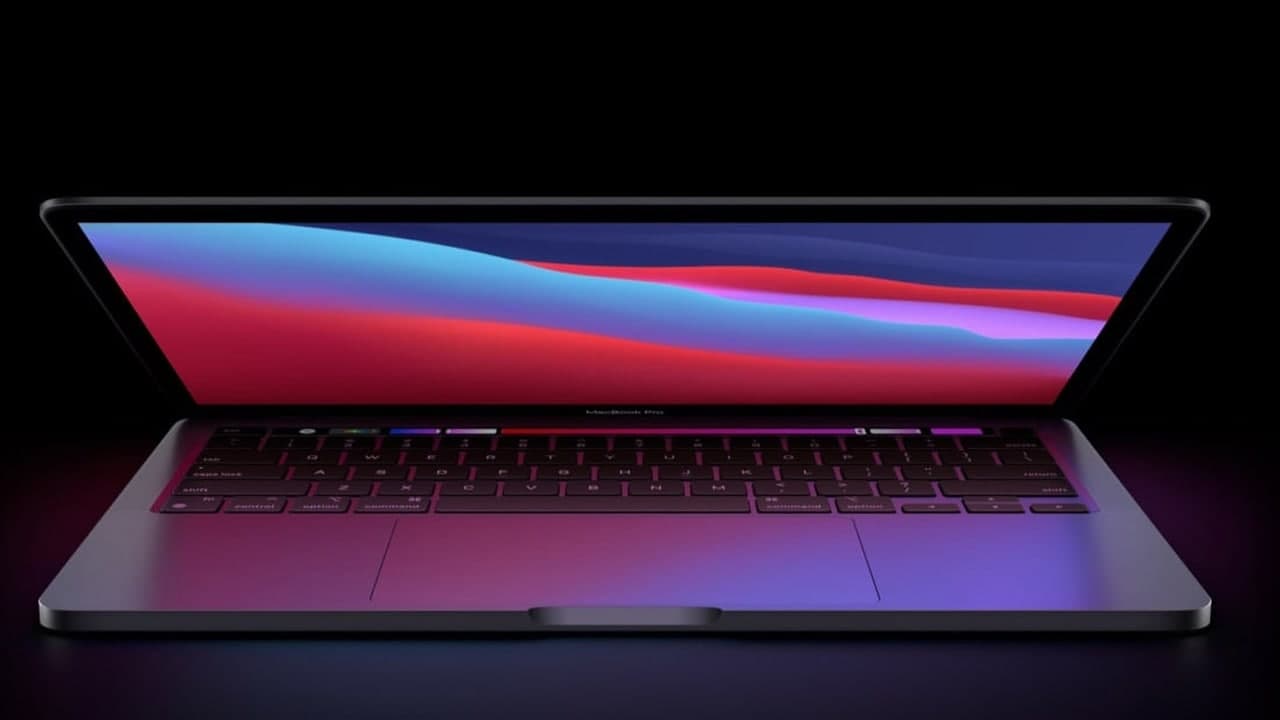
Every time Apple introduces a new MacBook, they improve the display. Whether it be the pixel density, brightness, or support for colors, the MacBook display gets better almost every year.
Desktop monitors come in a ton of sizes, orientations, and support for more features than a MacBook screen can (or should). Depending on your use case or needs, connecting your MacBook to a monitor may be the perfect desktop environment for you.
Here we’ll discuss how to connect MacBook Air to monitor, why a second monitor for MacBook Pro is a great option and how to connect MacBook Pro to a monitor of your choosing, and how to keep your Mac running smoothly no matter what your setup is.
How to connect an external monitor to a Mac
Here’s how to check which monitors your MacBook supports:
- From your Mac menu bar, select the Apple logo at the top left corner
- Select “About This Mac” from the menu
- Choose the “Support” tab from the top of the window that appears
- Tap on “Specifications” next to Mac Resources
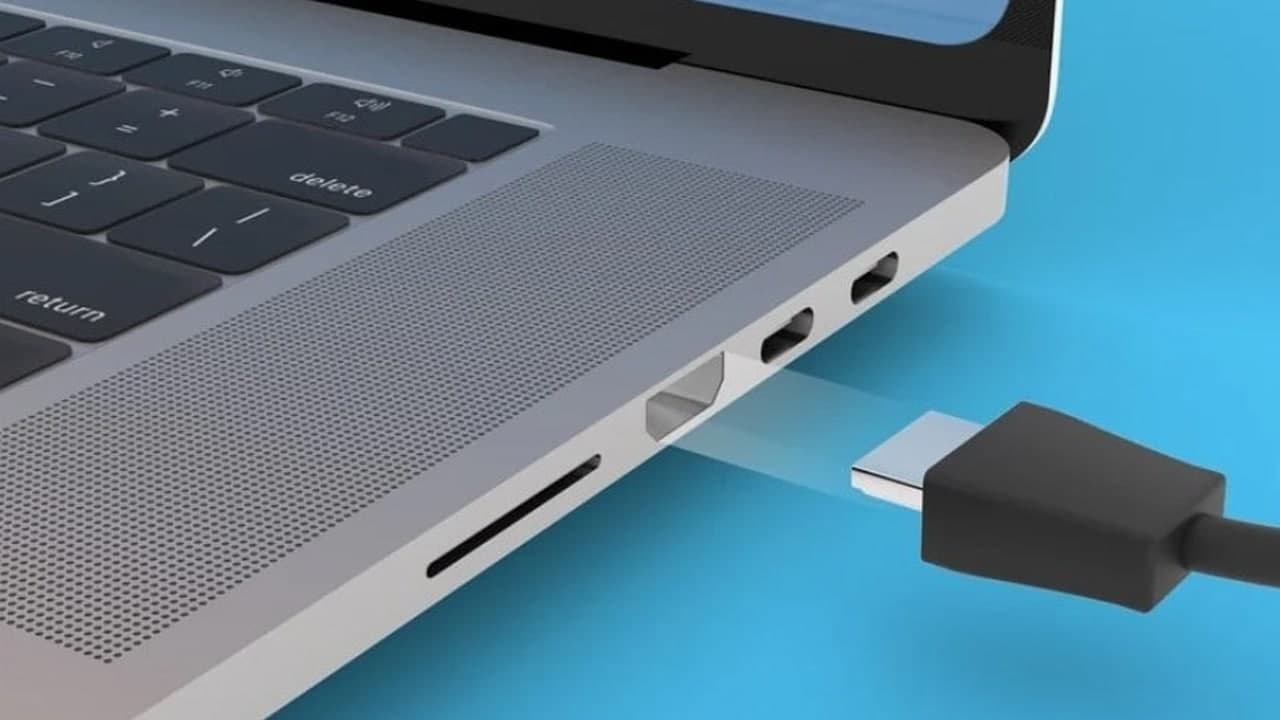
Here’s how to configure your external monitor for use with any MacBook:
- Plugin your external display to a power source
- Plug your external display into your MacBook
- Ensure the external display (or both, if you’re able to use two displays) is active and on
- From your Mac menu bar, select the Apple logo at the top left corner
- Choose “System Preferences” from the drop-down menu
- Select “Displays”
Join Tip3X on Telegram