AirPods are not only a great way to listen to audio on the iPhone, but also a great way to activate Siri and use simple gestures to control music. If the default actions are not what you want, you can easily change them, and each AirPod can perform different actions.
All Apple AirPods models let you use tap or press gestures to launch Siri, play and pause music, and skip forward or back a track. On the regular AirPods models, you can customize which ones work where, but not on the AirPods Pro. However, on the Pro model, you can customize its gesture-based noise control modes.
1 Open Your AirPods Settings
- To start customizing your AirPods’ action gestures, open the Settings app and select “Bluetooth.” You could also tell Siri to “open Bluetooth settings,” open it from Search on the home screen, or use the shortcut from the Control center in iOS 13 or later.
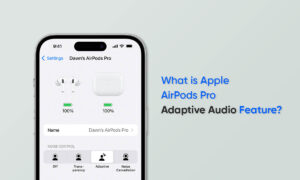
- Now, make sure your AirPods are connected, as it’s the only way to adjust their settings. They should say “Connected” next to their name. If not, take them out of the case and connect to them. You can also leave them in the case and just open the case’s lid, which should do the trick. When connected, tap the (i) button for your AirPods to enter their settings.
2 Customize Your AirPods Gestures
- In the AirPods settings, you can rename them, as well as toggle Automatic Ear Detection, but we’re interested in the other preferences. AirPods (1st generation), AirPods (2nd generation), and AirPods Pro all have gestures you can use to perform an action.
- With AirPods, you double-tap on a ‘Pod, and with AirPods Pro, you squeeze the stem of a ‘Pod. Each one has slightly different customization options.
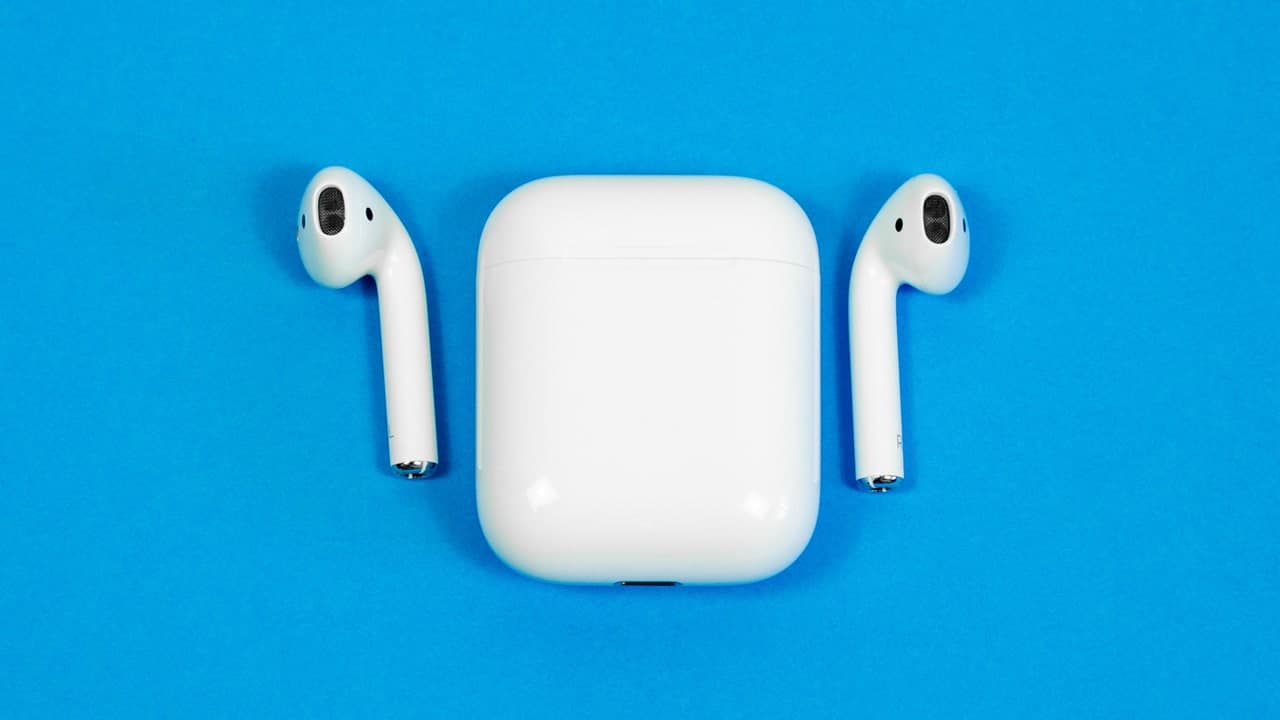
Option 1) AirPods (1st & 2nd Generation)
Each AirPod can have a different action assigned to it but only one. Under the Double-Tap on AirPod section, select “Left” or “Right” to change either’s shortcut to one of the following options.
- Siri: Activates your voice assistant.
- Play/Pause: Plays, pauses, and resumes media.
- Next Track: Skips forward one track in a playlist, album, etc.
- Previous Track: Goes back to the previous track in a playlist, album, etc.
- Off: Disables any double-tap gesture from working on the AirPod.
Option 2) AirPods Pro
The AirPods Pro model has another option over its smaller siblings, but that extra option is the only customizable gesture. Before we get to that, first, the media playback controls are set in stone and use press gestures, not double-taps, on the force sensor built into the stem of each AirPod.
- Play/Pause: Plays, pauses, and resumes media. Squeeze once on the stem or press once on its force sensor.
- Next Track: Skips forward one track in a playlist, album, etc. Squeeze twice on the stem or double-press its force sensor.
- Previous Track: Goes back to the previous track in a playlist, album, etc. Squeeze three times on the stem or triple-press its force sensor.
Now, there is a press-and-hold gesture for the force sensor on each AirPod’s stem that can do one of two things. And each AirPod can have a different action assigned to it but only one. Under the Press and Hold AirPod section, select “Left” or “Right” to change either’s a shortcut to one of the following options.
- Siri: Activates your voice assistant.
- Noise Control: Enables one noise control mode or cycle between two of them. “Noise Cancellation” blocks out external sounds, while “Transparency” lets in external sounds. You can choose one or both. If both, one long-press will enable noise cancellation, and another will choose transparency. “Off” disables any press-and-hold gesture from working on the AirPod.
Join Tip3X on Telegram