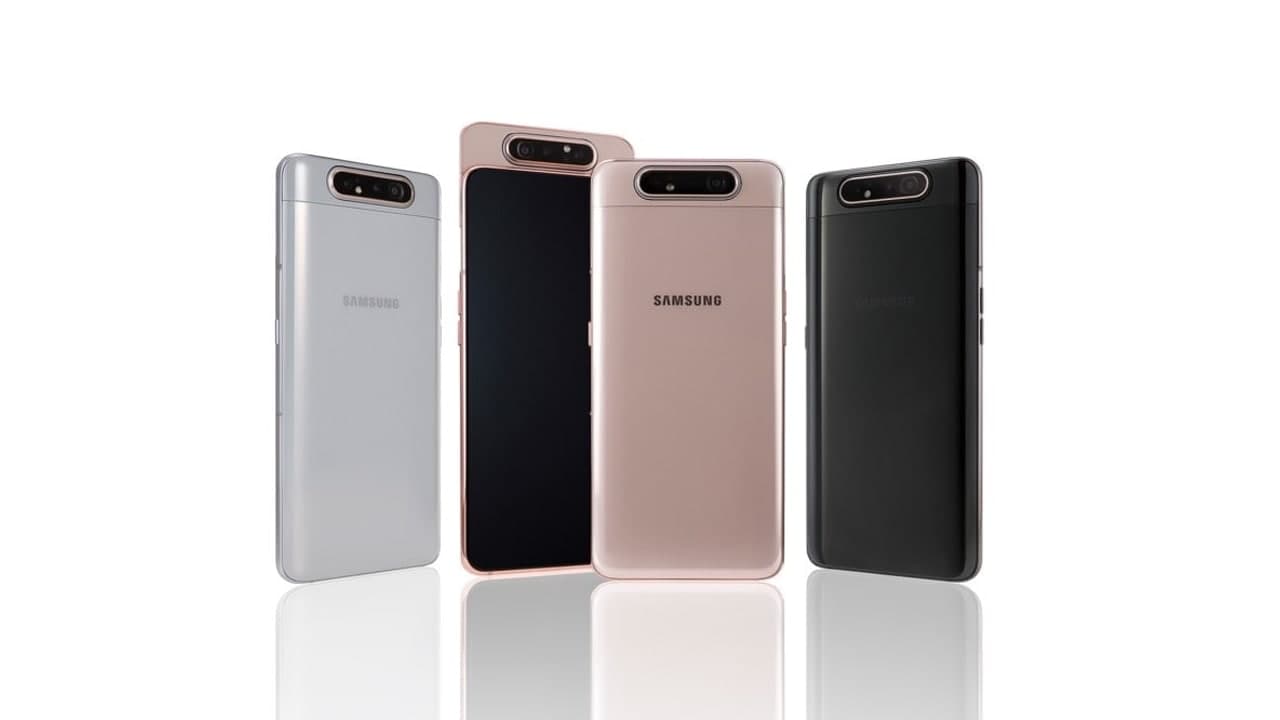
In addition to obvious functions such as touch screens and biometric sensors, modern smartphones also provide a series of an advanced hardware in the form of various sensors to help your device understand its surrounding environment. And, if you have a Samsung phone, then you will have a convenient feature that allows you to check whether these sensors are 100% working properly.
For many Samsung fans, most Galaxy phones have a secret diagnostic mode, which can be easily accessed by simply entering a little-known code. The best thing is that this feature is very easy to access and is an easy way to properly test it before committing to buying a new or used phone.
Accessing the Secret Diagnostic Menu
Before you start, it’s important to note that this feature is not available on your device. It is well known that certain carriers (such as Verizon and Sprint) will block code-based diagnostic mode on their Samsung smartphones and tablets, although Sprint’s new phones (such as the Galaxy S6) have restored this feature.
To scroll, just open your Samsung mobile app. Use the dial pad to enter *#0 *# here, and the phone will immediately enter the secret diagnosis mode. Please note that this process is automatic, so there is no need to click the green call button to enter commands. Therefore, if you enter the code and nothing happens, the feature is disabled on your device.
Below are the following tests you can perform on your Samsung handset once you’ve input the code and entered HwModuleTest mode. Please note that some may be missing screenshots due to security reasons or the nature of the tests.
Red, Green & Blue Screens
Choose one of these three tests for the red, green, and blue spectrum of the phone, and it will selectively and brightly display the corresponding colors. To return to the main diagnosis page, just tap on the screen to exit.
Receiver & Vibration
To check if your phone’s receiver is working properly, tap on the “Receiver” button to commence testing. Doing so should take you to a white screen, accompanied by a clearly audible dial tone. Once you’re satisfied, simply tap on the back button twice to go back to the main test page.
“Vibration” tests out your phone’s vibration motor. Your screen will go black once you tap on the “Vibration” button, accompanied by constant vibration. Tap on the screen once to exit this test and go back to the main test screen.
Dimming
Tap “Dimming” will give you red, green, and blue screens. Whenever you switch between darkening and brightening the screen. To return to the main test page, press the volume up button.
Mega Cam
Tap on “Mega Cam” to test out your main camera. Use the volume buttons to zoom in and out, then tap on the camera button on the bottom of the screen to snap a photo. Please note that flash is on by default, and your test photo will also be saved in your gallery. Once you’re done testing the camera, tap on the back button to exit out to the main diagnostic screen.
Sensor
Tapping on the “Sensor” button will yield a test page for a host of sensors — namely the accelerometer, proximity sensor, barometer, light sensor, gyroscope, magnetic sensor, HRM, and fingerprint scanner.
Touch
The phone’s touch screen is easily the most important component you can test because it is usually needed to access and interact with the phone. Therefore, to test this function and check whether there is a dead zone, click the “touch” button to activate it.
Sleep & Speaker
Tapping on the “Sleep” button will test out your device’s sleep functionality. Doing so should immediately put your phone into sleep mode. Once done, wake your phone as you normally would, and you’ll automatically be taken back to the main diagnostic page.
Tap on the “Speaker” button if you want to test out your handset’s audio output, which in turn plays a sample song that you can listen to. Once you’ve verified that your speakers are good, simply tap on the “Speaker” button again to end the test.
Sub Key
“Sub Key” tests out your hardware buttons, along with the virtual home button if you have a Note 8 or S8. Pressing each button changes the screen color to help verify their functionality. Tap on the exit button in the middle of the screen to exit back to the main diagnostic page.
Front Cam
To test your front camera, just click the “Front Camera” button to get started. This will pull your front camera and allow you to take selfies as usual. Remember that all test photos you take are automatically stored in the phone’s gallery, so if you are strictly using them for testing, be sure to delete them. After testing the selfie cam, please tap the “back” button twice to return to the main test page.
Gripsensor
Chances are your Samsung handset features sensors that detect your grip. To test for this functionality, tap on the “Gripsensor” button, then follow the prompts and release your grip when instructed. You should get a blue screen labeled “Working” if the grip sensor is functioning properly. Once you’re done with the test, tap on the back button twice to go back to the main screen.
LED & Low Frequency
The LED test checks the function of the device’s LED notification light. Running the test is very simple just click the “LED” button, then click on the screen to change the color of the LED from red to green, and finally to blue. To end the test, tap once on the screen and then return to the main diagnosis page.
“Low Frequency” tests out your phone’s earpiece and tapping on the button to commence testing will bring you to the “Low-Frequency Test” page. From there, tap on 100 Hz, 200 Hz, and 300 Hz and place your ear against the phone’s earpiece each time you select a frequency to check for low buzzing noise. Once you’ve completed the tests, you can exit back to the main diagnostics page by tapping on the back button twice.
Barcode Emulator Test
If you need to test the mobile phone’s ability to create barcodes, please click “Barcode Emulator Test”. In this way, you will be taken to a page with a different barcode. From there, just click on each barcode and scan it with a barcode scanner to make sure they are read correctly. After the test is complete, please tap the “Back” button twice to return to the main diagnostic page.
Hall IC, MST & MLC Tests
The Hall IC sensor detects the magnetic field, which is mainly used to detect the magnetism of the flip when the magnet in the flip touches the mobile phone and automatically enters the sleep state. The test itself cannot do many things, but can confirm that the Hall IC is working properly.
MST stands for Magnetic Secure Transmission, which allows the device to temporarily read your phone as a credit card. This sensor is required when using payment services such as Samsung Pay. On the other hand, MLC is a technology used in fingerprint sensors. There are not many testing methods in this area, which are aimed at tampering with developers more.
Iris Camera Test
Last but not least, the “Iris Camera Test” tests the infrared iris camera used to unlock the device. Click this button to drag the iris camera to aim at the eye, and immediately shut down and return to the main diagnosis page after successfully scanning the iris.